In this series of primers, I will be covering one of my favorite styles of art…Glitch Art and Databending. This first tutorial is about hex editing to corrupt images. Since we dont have Groups on Artician yet, I cannot point you in the direction of the Glitch Art group - but will assure you that as soon as there is support for groups there will be one. Until then, you will be pointed in the direction of the Glitch Art and slightly{GLITCH]y groups on flickr for some examples of what well be discussing.
Now for a drilldown of glitch art and databending: glitch: noun: a fault or defect in a system or machine Databending is the purposeful glitching or corruption of data for whatever purposes you have to do so. Most of us have had experiences with glitches while just using computers in general, or taking photographs with a digital camera - the computer will accidently write a byte to the wrong place or freeze up and you get all kinds of upsetting stuff.
However, by purposefully causing the glitching through different methods, we can achieve some really interesting results that display a quality of beauty that we might not be used to thinking about. Cascading lines of pixels, colors and sweeping distortions bring more depth to a picture. Even more interesting, you can embed different types of media into photos, music and video to cause glitching and add dimension to a creation that wasnt possible before.
The main focus of Part I will be using Hex editors to cause corruption in different types of pictures by swapping bytes and embedding text. Now the tools you will need for this one are simple: some sort of basic image editor and a hex editor. For image editing, I really recommend The GIMP…its free, easy, and extremely customizable - but mostly FREE. Its mostly a Linux program, but there are Windows and Mac versions as well. As for hex editors, there are oodles to choose from. Just make sure and get one that has a “Find and Replace” feature. I will be using GNOME Hex (ghex) on Xubuntu, but Windows users should check out XVI32 - free and feature-rich. Dont know anything about Mac, so good luck with that.
A hex editor (or binary file editor or byte editor) is a type of computer program that allows a user to manipulate binary (normally non-plain text) computer files. By using a hex editor, a user can see or edit the raw and exact contents of a file as opposed to the interpretation of the same content that other, higher level application software may associate with the file format. For example, this could be raw image data, in contrast to the way image editing software would interpret the same file. In most hex editor applications the data of the computer file is represented as hexadecimal values grouped in two groups of 8 bytes and one group of 16 ASCII characters, nonprintable characters normally represented by a dot (“.”) in the ASCII part.
Now that youve had the basics explained to you, lets have some fun. For the first part, I will randomly be swapping some bytes for others by substituting numbers…the simplest way to glitch a photo. For my examples I will be using this screenshot of a screenshot of an error I experienced the other day when editing my computers GRUB settings:
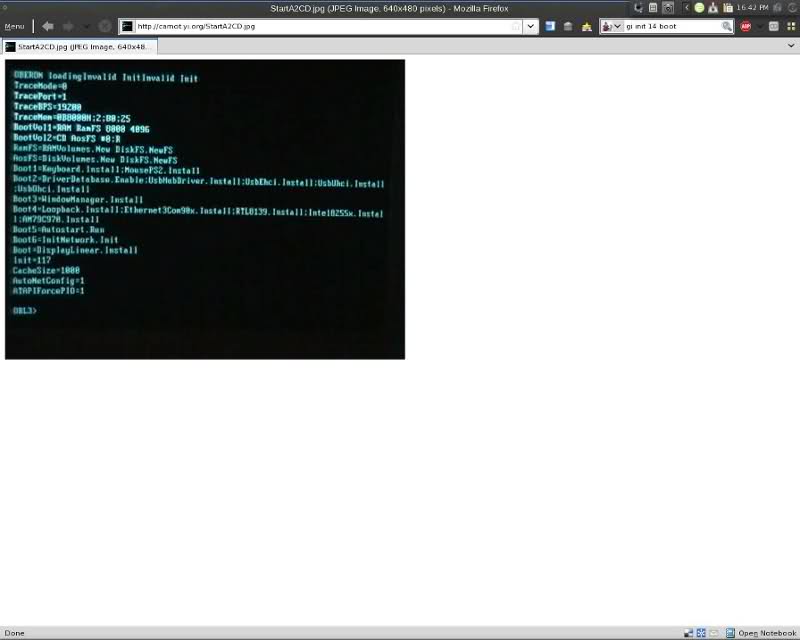
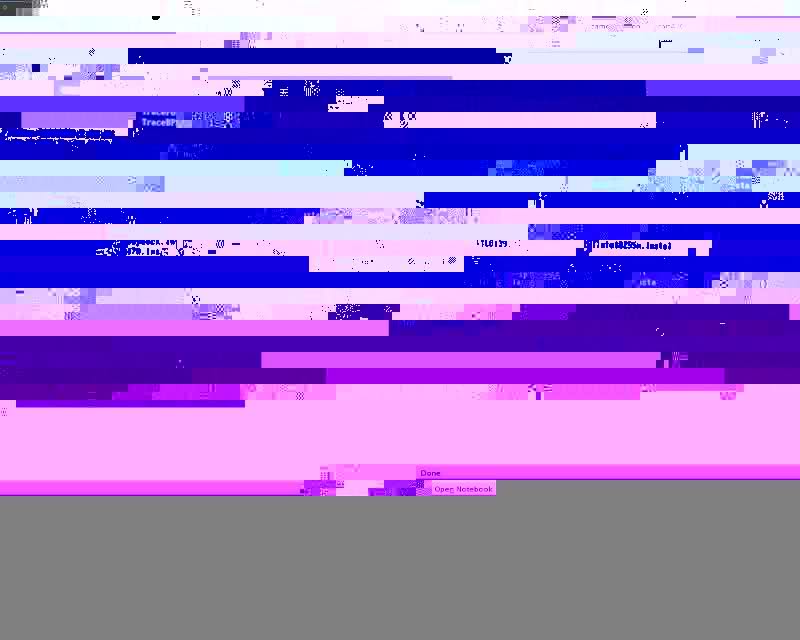
The first thing well do it make plenty of copies of the image - Ive made 5. You want to do this because there is pretty much no way of undoing the damage youll be doing on the base level with these images. Sometimes you wont even be able to replicate it due to different variables. Time to open up the image in the hex editor:
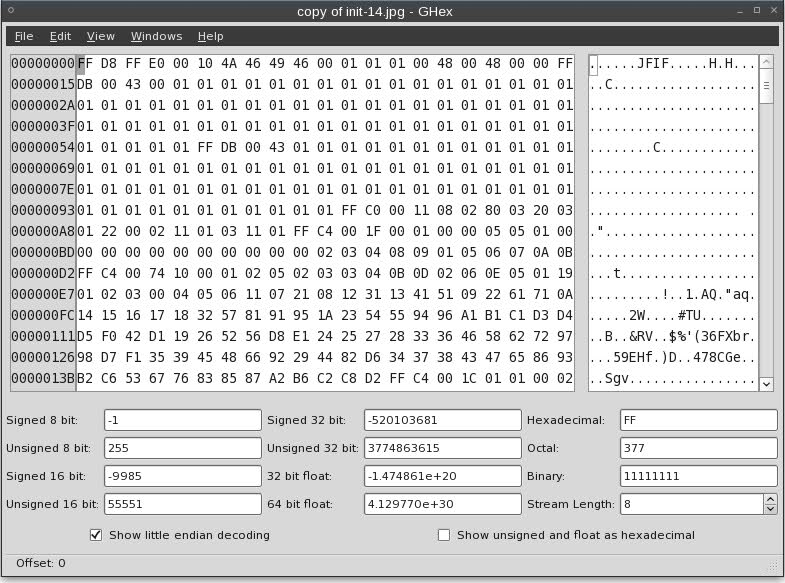
As you can see, its mostly garbled text. The section on the left shows the hexadecimal equivalents of the ASCII characters on the right. But, we dont really want to mess around with that sort of depth right now. So I go to Edit > Replace
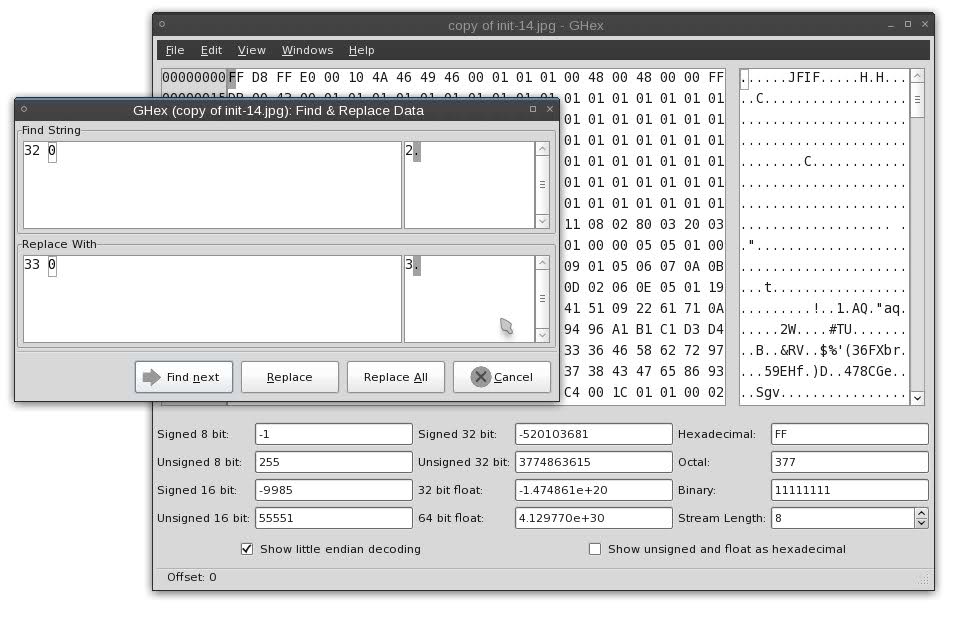
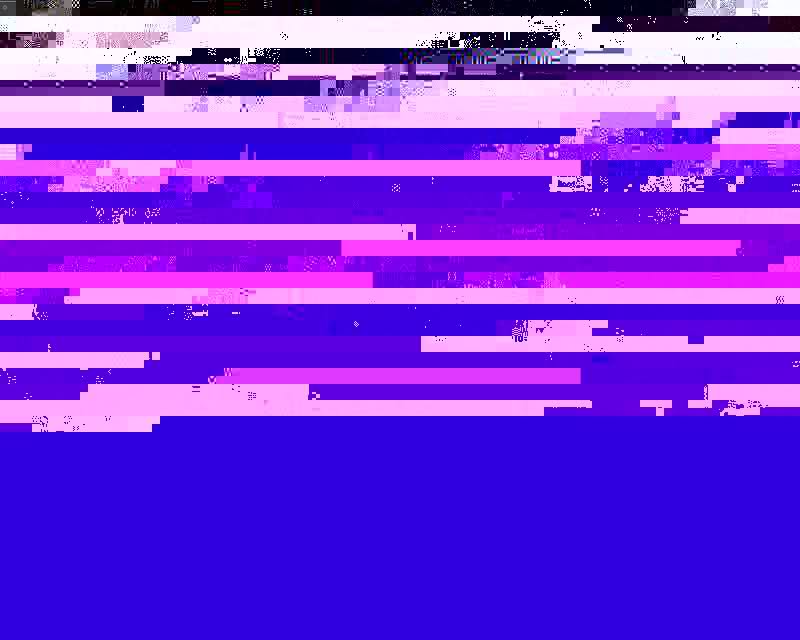
Ill be doing something extremely simple - just replacing all instances of the number 2 with the number 3. Click replace and voila Here is the result:
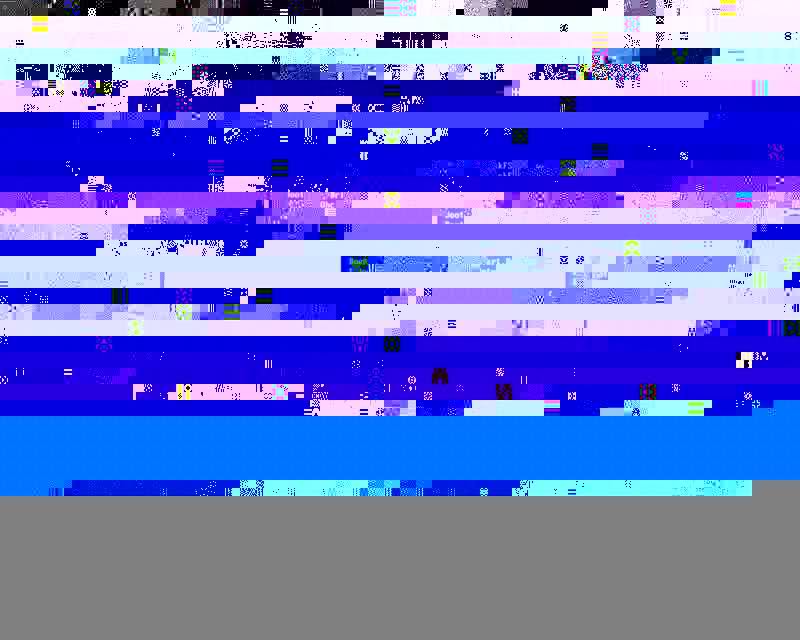
Interesting, no? Now, lets try something different - here Ive replaced all instances of the number 3 with the word “triage”:
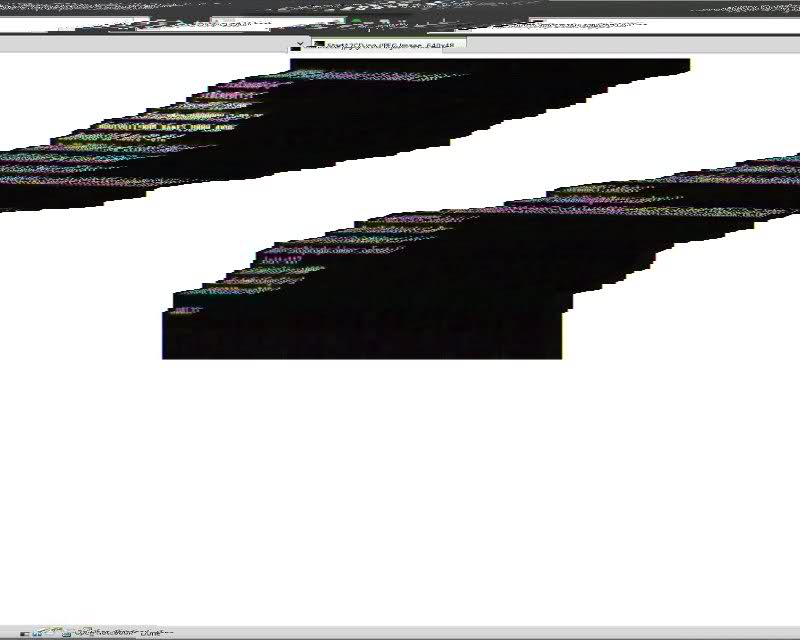
Now, try to experiment a little. You can get some fantastic results by substituting letters, numbers, words, and symbols. Here Ive made all 2s into “3+”
IMPORTANT NOTE: All images used so far have been JPG images. Something to remember is that different file formats store data in different ways. my favorite for databending are BMP and JPG. Certain file formats work better than others, and some dont work well at all - like TIFF and PNG. Experiment around and see what works for you.
Here is a BMP version of what weve been working with with all “f”s subbed with “sometimes”.
Now try it with some data of your own…have fun and experiment a little Just remember, youre actually corrupting these images. So before sharing, make sure and open it with an image editor and resave it. Putting raw, corrupted images online will give you varying results on different systems.